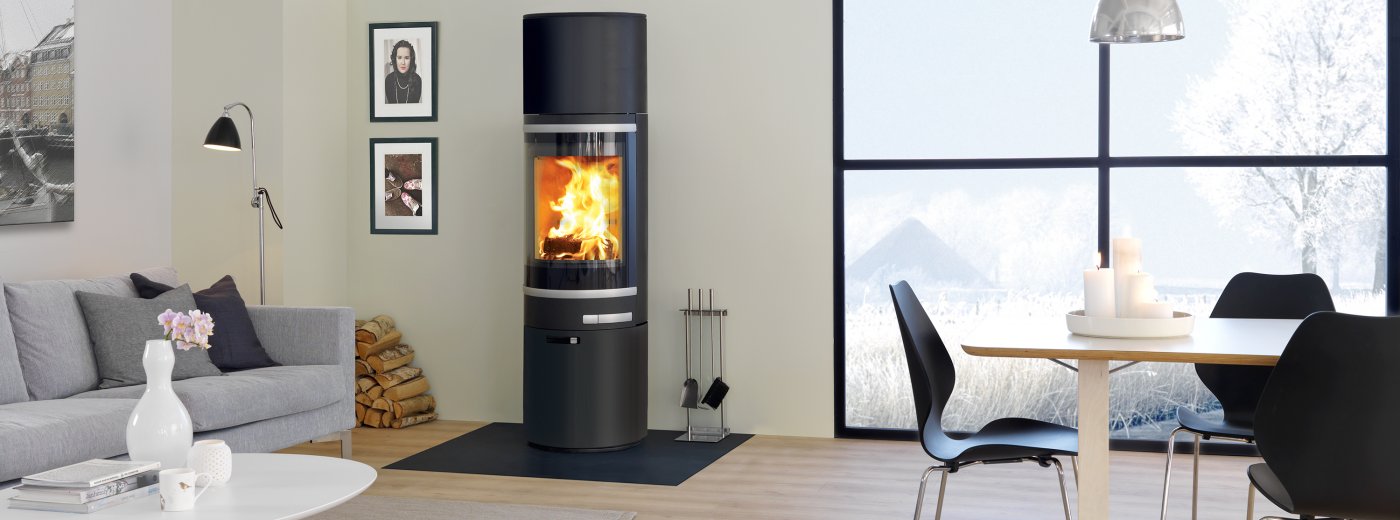
How to light your wood-burning stove
It can sometimes be a challenge to light a wood-burning stove correctly, but if you follow a few simple steps, it is not so difficult. We have also made a small instruction video that you can take a look at (please note that the video is only intended as a guide - you should always respect the instructions in the manual of your specific model).
We recommend the use of fire lighters, or similar products, which are available from your Scan dealer. Using fire lighters helps light the wood more quickly and keeps the combustion process clean. Never use liquid lighting fuels!
It is important that the wood used to light the fire is dry in order to generate enough heat to ensure a clean combustion.
"Top-down" lighting:
- Place 2-4 pieces of wood (approx Ø 6-9 cm) with some space in between in the bottom of the burn chamber (and according to the size of the burn chamber).
- Place 15-20 thin pieces of wood crosswise up to the holes for the tertiary air supply.
- Place 2-4 fire lighters under the upper layer of kindling wood and set fire to them.
- Set the primary and secondary airflow controls to maximum for the entire lighting phase. After that, adjust the air supply according to the manual.
- When the fire has burnt down to a layer of ambers, refill the stove and adjust the air valves according to the stove's manual.
Top-down lighting is a more environmentally-friendly way of lighting the fire and helps to keep the glass area as clean as possible.
Please note that the above procedure is a general description; you should always follow the advise given in the stove's specific manual (see under Products)
If the fire is too strong, the thermal stress in the chimney and in the stove may be unnecessarily high. Don't over fire. Prevent the fire from smouldering as this produces excessive emissions. You get the best result when the fire is burning steadily and the smoke from the chimney is almost invisible.

